Quickstart
This tutorial takes you from a running VideoNode installation to a live stream playing in your browser. It assumes you've completed Installation.
Step 1: Open the UI
Browse to http://<your-box>:8090 (or http://localhost:8090 if you're on the box itself). The login page appears. Sign in with your Linux username and password (or the basic-auth credentials, if you switched to that during install).
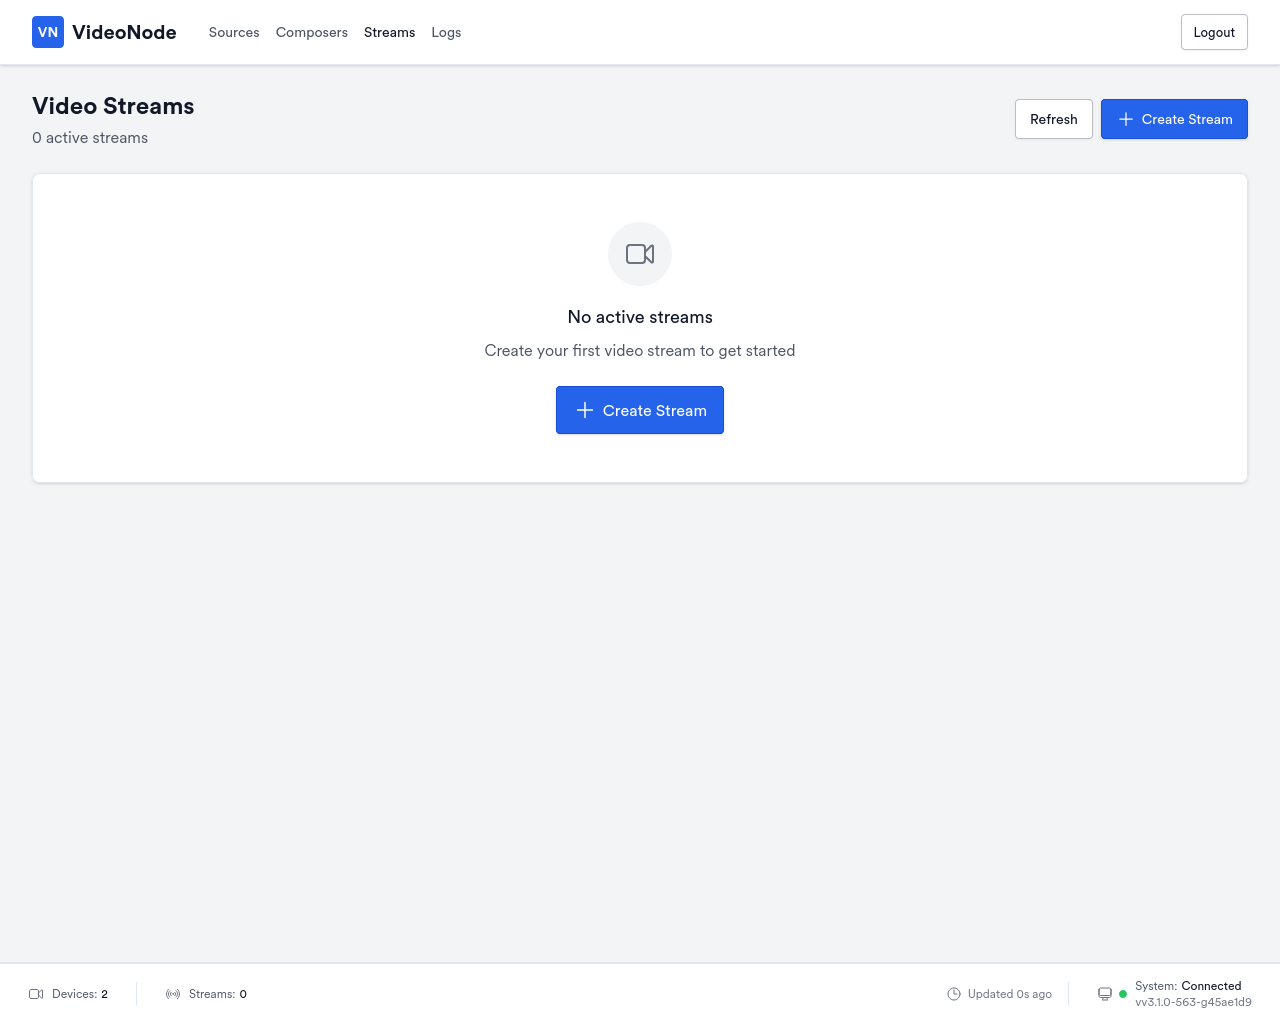
You'll land on the Streams page, empty on a fresh install:
Step 2: Create a source
A source is the upstream that produces frames: a real V4L2 device or a built-in test pattern. Click Sources in the nav, then New source.
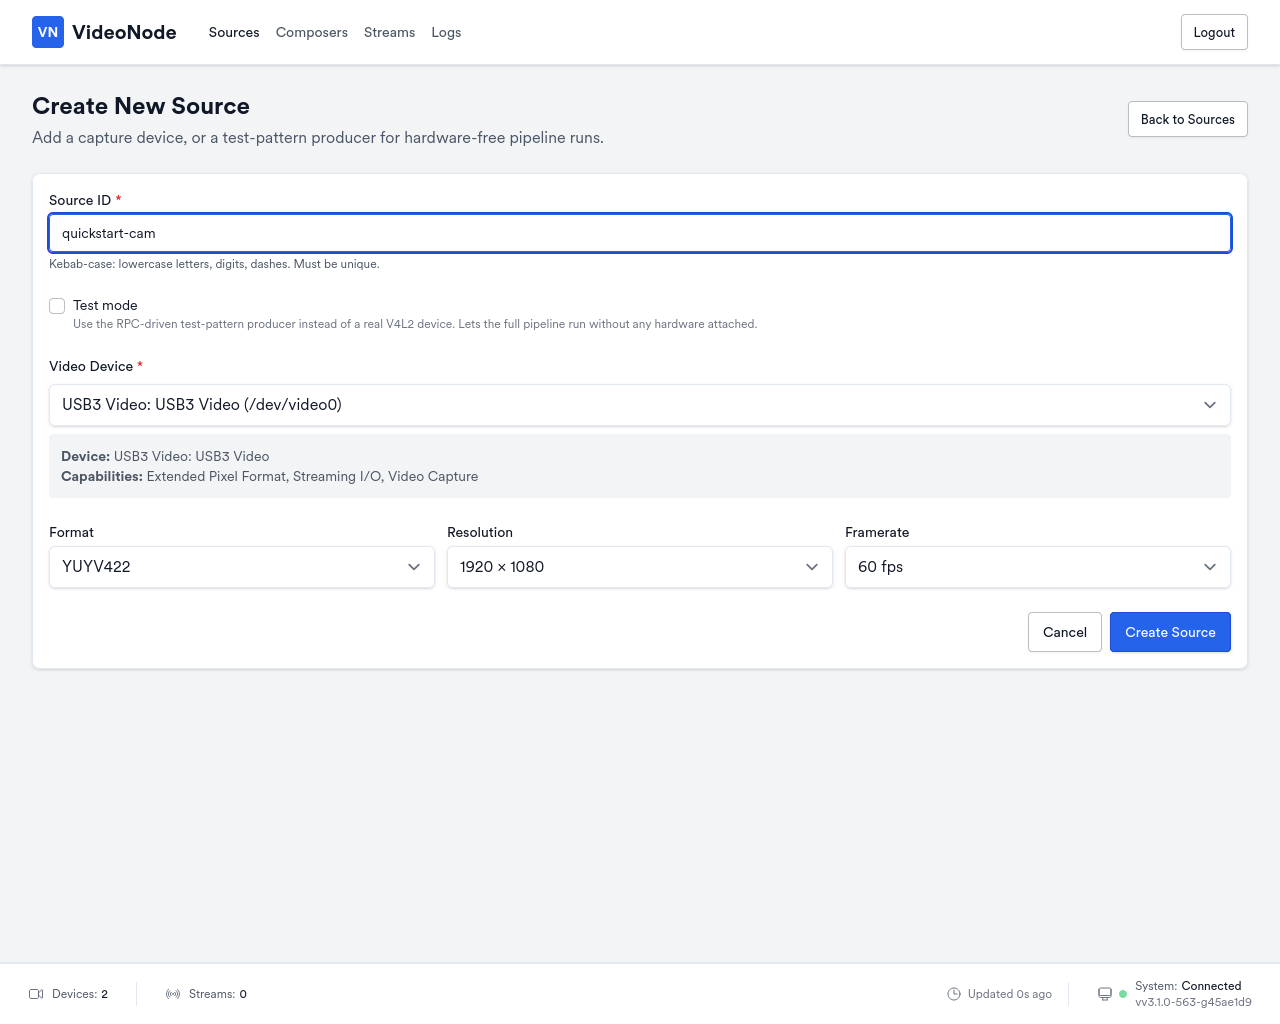
Pick a Source ID (kebab-case), select your capture device from the Video Device dropdown, and pick a format, resolution, and framerate. If you don't have hardware plugged in yet, tick Test mode: the source runs without a V4L2 device and broadcasts placeholder frames. Click Create Source.
The source appears in the table with status Running. It's broadcasting frames but no one is listening yet.

Step 3: Create a stream
A stream pairs an upstream (your new source) with an encoder. The daemon publishes the encoded stream over RTSP, SRT, and WebRTC; there is no publish target to choose. Click Streams, then Create Stream.
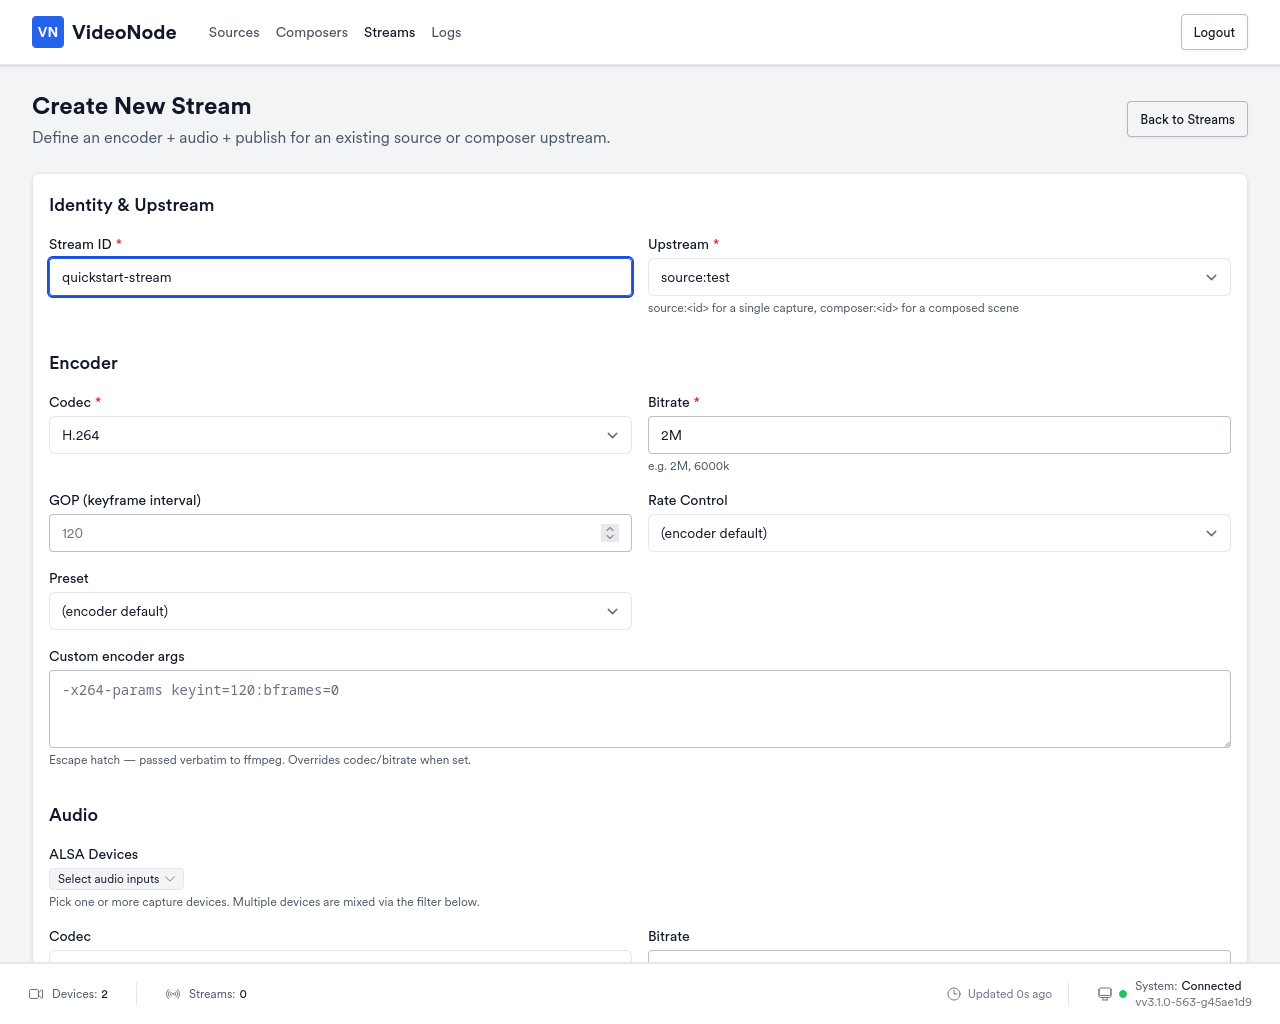
Set:
- Stream ID: anything kebab-case; this becomes the URL path component for RTSP/SRT/WebRTC consumers.
- Upstream: pick your source from the dropdown.
- Codec:
H.264. - Bitrate: leave empty to use the
4Mdefault, or set your own.
Leave the rest at defaults and click Create Stream. The stream appears in the Streams table.
Step 4: Watch the stream
The Streams page renders a live WebRTC preview as soon as you click the row. To open the stream in an external player, see Streaming outputs for the RTSP / SRT / WebRTC URL formats and example consumer commands.